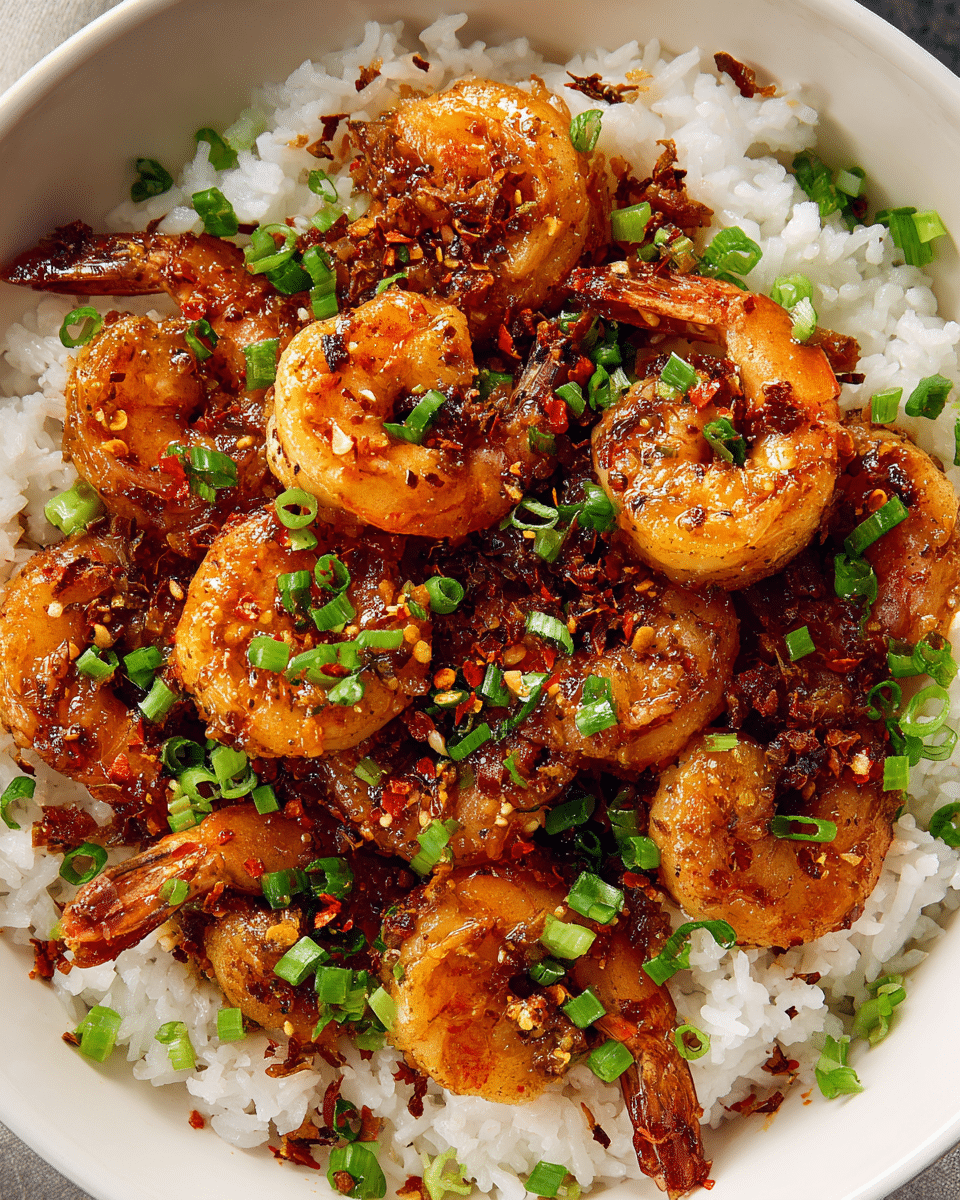
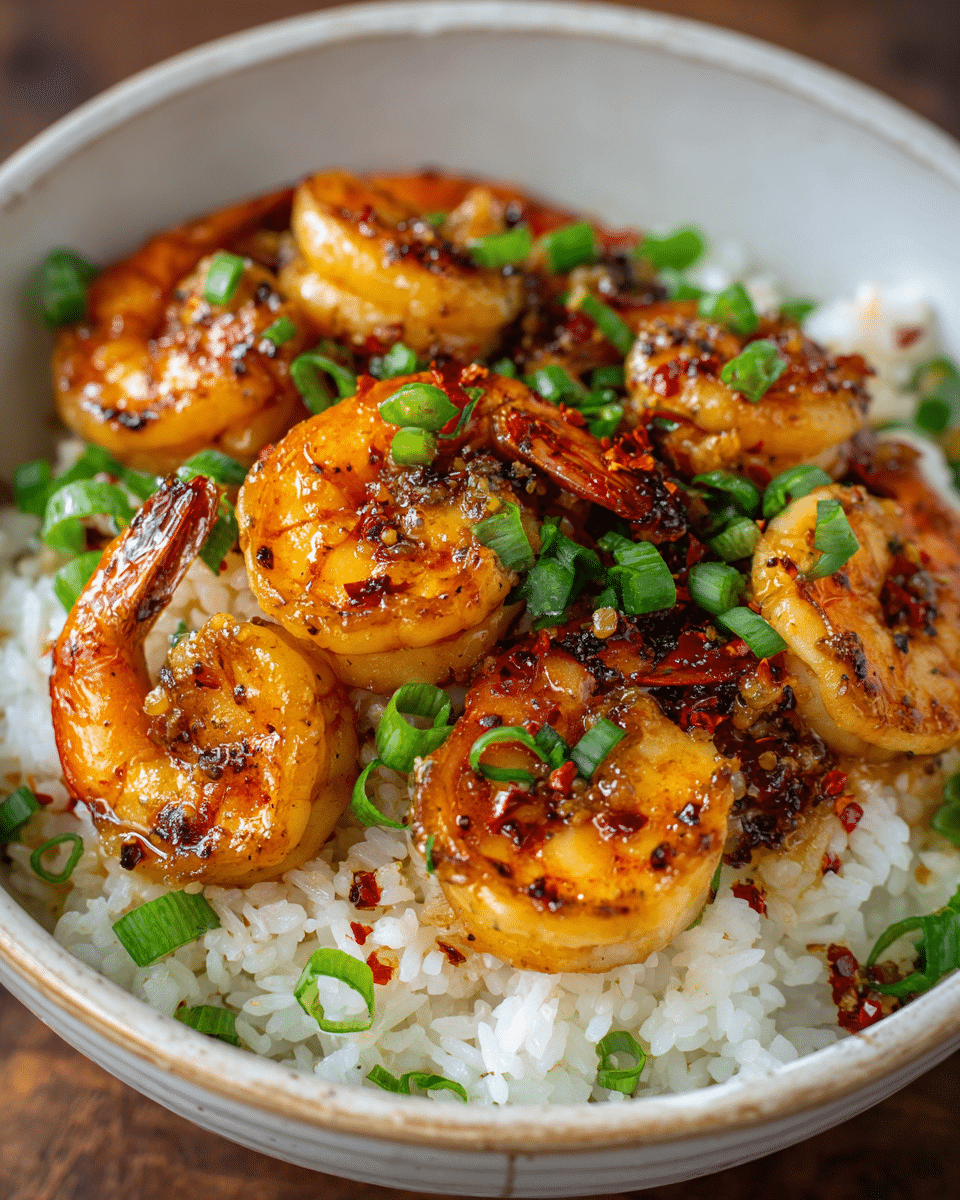
Need a lightning-fast dinner that feels fancy but takes less time than setting the table? This Honey Garlic Shrimp recipe is the answer. Juicy shrimp coated in a glossy, garlicky honey glaze—ready in just 10 minutes! It’s the perfect balance of sweet, salty, and savory, making it a weeknight dinner hero or a delicious last-minute appetizer.
Best of all, it’s made with pantry staples and zero fuss. Let’s break down why this crowd-pleasing dish deserves a spot in your regular meal rotation.
Why You’ll Love Honey Garlic Shrimp
This is more than just a quick seafood fix—it’s a meal that’s:
-
Flavor-packed: Sweet honey, savory garlic, and salty soy sauce come together in one mouthwatering glaze.
-
Quick & easy: No marinating required. From skillet to plate in under 10 minutes.
-
Versatile: Serve over rice, toss into salads, or fold into wraps.
-
Healthy: High-protein, low-calorie, and naturally gluten-free with the right substitutions.
Whether you’re a seafood pro or shrimp beginner, this is a recipe you’ll come back to over and over.
Ingredients Breakdown: Simple Staples, Big Flavor
Here’s what you’ll need and why each ingredient matters.
Shrimp (Large, Raw, Peeled & Deveined)
-
Why It Matters: Large or jumbo shrimp offer the best texture and sear. Fresh or frozen both work—just thaw before cooking.
-
Tips: Tails on or off—your choice. Tails look great for presentation, but removing them makes eating easier.
Honey
-
Why It Matters: Provides the sticky-sweet glaze and caramelizes slightly for a beautiful golden color.
-
Tips: Use raw or local honey for the best flavor.
Garlic (Fresh, Minced)
-
Why It Matters: Adds depth and aromatic punch to the sauce. Garlic is non-negotiable in this dish!
-
Tips: Don’t burn it—add after shrimp is partially cooked or mix into the sauce.
Soy Sauce
-
Why It Matters: Balances the sweetness with salty, umami flavor.
-
Tips: For gluten-free, use tamari or coconut aminos.
Lemon Juice
-
Why It Matters: A touch of acidity brightens the dish and cuts through the richness.
-
Tips: Use fresh juice for best results; lime works too.
Olive Oil or Butter
-
Why It Matters: Used to sear the shrimp and carry the garlic flavor.
-
Tips: Butter adds richness, olive oil is a lighter option.
Cornstarch Slurry (Optional)
-
Why It Matters: For a thicker, stickier glaze, you can whisk 1 tsp cornstarch with 1 tbsp water and add it at the end.
-
Tips: Totally optional—great if you’re serving this over rice and want extra cling.
Step-by-Step Instructions: From Skillet to Table in 10 Minutes
No marinating. No waiting. Just pure flavor and simplicity.
1. Prep the Shrimp
-
Pat shrimp dry with a paper towel.
-
Lightly season with salt and pepper if desired.
2. Make the Sauce
In a small bowl, whisk together:
-
1/4 cup honey
-
3 tablespoons soy sauce
-
3 garlic cloves, minced
-
1 tablespoon lemon juice
Set aside. (Optional: Mix in a cornstarch slurry if you prefer a thicker glaze.)
3. Sear the Shrimp
-
Heat 1 tablespoon oil or butter in a large skillet over medium-high heat.
-
Add shrimp in a single layer.
-
Cook for 1.5–2 minutes per side, or until pink and opaque. Don’t overcrowd—cook in batches if needed.
Pro Tip: The shrimp will curl into a C shape when done—if they form a tight O, they’re overcooked.
4. Add the Sauce
-
Pour in the honey garlic mixture and stir gently to coat the shrimp.
-
Let simmer for 1–2 minutes until slightly thickened.
-
If using cornstarch, stir it in and cook another minute until the glaze becomes syrupy.
5. Serve Immediately
-
Garnish with sesame seeds or green onions if desired.
-
Serve hot!
Tips, Swaps & Flavor Variations
Flavor Boosters:
-
Spicy Honey Garlic Shrimp: Add 1 tsp sriracha or red pepper flakes.
-
Citrus Twist: Use orange juice instead of lemon for a sweeter tang.
-
Garlic-Lover’s Version: Double the garlic for extra depth.
Dietary Substitutions:
-
Gluten-Free: Use tamari or coconut aminos.
-
Paleo: Swap soy sauce for coconut aminos and honey for maple syrup (though texture will be thinner).
-
Dairy-Free: Use olive oil instead of butter.
Make-Ahead Tips:
-
Prep the sauce ahead and store in the fridge for up to 3 days.
-
Shrimp can be cleaned and thawed the night before for quicker cooking.
 Serving Ideas & Occasions
Honey Garlic Shrimp is endlessly versatile. Here are some fresh serving ideas:
-
Over Rice: Classic combo—serve over jasmine or basmati rice for a complete meal.
-
Shrimp Tacos: Spoon into corn tortillas with slaw and avocado.
-
Shrimp Bowls: Add to quinoa or brown rice with cucumbers, edamame, and a drizzle of sriracha mayo.
-
Lettuce Wraps: Low-carb, high-flavor option with crisp romaine or butter lettuce.
Perfect For:
-
Weeknight dinners
-
Meal prep lunches
-
Quick date-night meals
-
Last-minute guests
Nutritional & Health Highlights
Shrimp is a lean, nutrient-rich protein that fits many healthy eating patterns.
-
High in Protein: ~20g per 3-ounce serving
-
Low in Calories: Around 100 calories per serving (before sauce)
-
Rich in Selenium and Vitamin B12
-
Naturally Low Carb: Great for keto or low-carb diets with minor tweaks
-
Low-Fat & Low-Sugar Option: Especially if you reduce honey or skip cornstarch
With this recipe, you get satisfying flavor without sacrificing nutrition—perfect balance!
FAQ: 10-Minute Honey Garlic Shrimp
1. Can I use frozen shrimp?
Yes! Just make sure to thaw them completely and pat them dry before cooking to avoid a watery skillet.
2. Can I make this in the oven or air fryer?
While this dish shines in the skillet, you can air fry the shrimp at 400°F for 6–8 minutes, then toss in warmed sauce.
3. What shrimp size should I use?
Large or extra-large shrimp (21–30 per pound) work best. They stay juicy and don’t overcook as quickly.
4. Is this sweet or savory?
It’s a perfect balance of both! The honey gives it sweetness, while garlic, soy, and lemon balance the profile.
5. Can I add vegetables to the skillet?
Yes—thinly sliced bell peppers, snow peas, or broccoli florets go well. Sauté them before adding shrimp.
6. How do I store and reheat leftovers?
Store in an airtight container for up to 3 days. Reheat gently in a skillet over low heat to avoid overcooking.
7. Can I use pre-cooked shrimp?
You can, but reduce cook time. Sauté just 30 seconds to warm, then add the sauce and simmer briefly.